Classic Apple Pie From Scratch (Juicy, Not Runny)
Affiliate disclosure: This article contains affiliate links. If you buy through them, we may earn a small commission at no extra cost to you. As an Amazon Associate I earn from qualifying purchases. Links go to Amazon search results for the product types we mention, not to specific products we have tested.
A classic apple pie should have a flaky golden crust, tender apples that still hold their shape, and a juicy filling that slices cleanly instead of flooding the plate.
Three things get you there: the right mix of apples, enough thickener, and patience while the pie cools.
The best apples for apple pie
Use a mix of firm apples that hold their shape when baked. Combining a tart apple with a sweeter one gives the best flavor.
- Tart and firm: Granny Smith
- Sweet-tart and firm: Honeycrisp, Braeburn, Jonagold, Pink Lady
- Sweeter: Golden Delicious (softer, so mix it with a firmer apple)
Avoid very soft apples like McIntosh on their own; they break down into applesauce.
Ingredients
Makes one 9-inch pie (8 slices):
- 1 double all-butter pie crust, chilled
- 3 lb (about 1.4 kg) firm apples, about 7 medium
- 1 tbsp lemon juice
- 1/2 cup (100 g) granulated sugar
- 1/4 cup (50 g) packed light brown sugar
- 3 tbsp all-purpose flour, or 2 tbsp cornstarch
- 1 1/2 tsp ground cinnamon
- 1/4 tsp ground nutmeg
- 1/4 tsp fine salt
- 1 tbsp butter, cut into small pieces
- 1 egg beaten with 1 tbsp milk, for brushing
- 1 tbsp coarse sugar (optional)
Instructions
- Prepare the apples. Peel, core and slice the apples about 1/4 inch thick. Toss them with the lemon juice in a large bowl.
- Season. Add both sugars, flour or cornstarch, cinnamon, nutmeg and salt. Toss well and let sit for 15 to 30 minutes while you roll the crust. The apples will release some juice.
- Roll the bottom crust. Roll one disc to about 12 inches and fit it into a 9-inch pie dish, leaving the overhang.
- Fill. Pile the apples into the crust, mounding them in the center, and pour in most of the juices. Dot with butter.
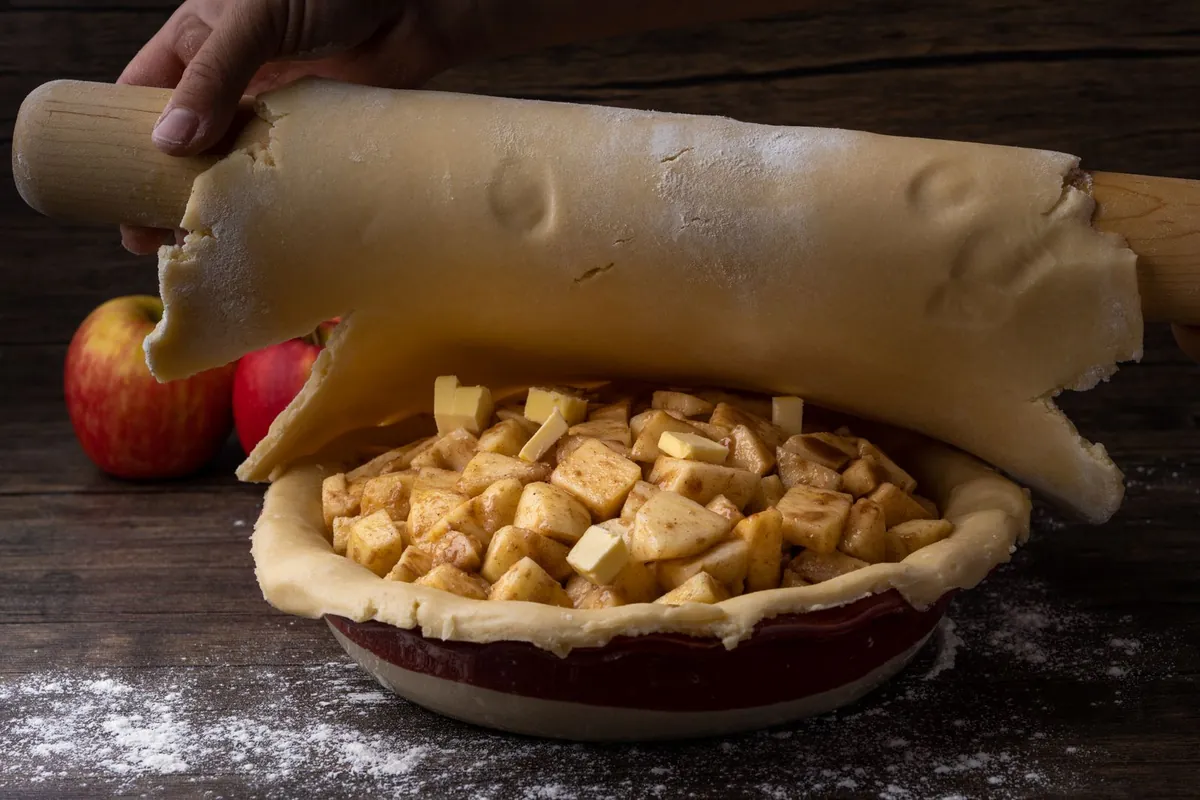
- Top. Roll the second disc and lay it over the filling (or cut strips for a lattice). Trim, fold the edges under together and crimp to seal.
- Vent and chill. Cut 4 or 5 slits in the top crust. Chill the pie for 20 minutes while the oven heats.
- Heat the oven to 425°F (220°C) with a rack in the lower third. Put a rimmed baking sheet on the rack below to catch drips.
- Brush and bake. Brush the top with egg wash and sprinkle with coarse sugar. Bake for 20 minutes.
- Lower the heat to 375°F (190°C) and bake another 40 to 50 minutes, until the crust is deep golden and the juices are bubbling thickly through the vents. Cover the edges with foil if they brown too quickly.
- Cool. Let the pie cool on a rack for at least 3 hours before slicing.
Why the bubbling matters
Flour and cornstarch only thicken once the juices boil. If you take the pie out before the filling is bubbling through the vents, especially in the center, the juices won't set and the pie will be runny.
Why cooling matters just as much
The thickened juices firm up as the pie cools. Cut it hot and they run out; cut it after 3 to 4 hours and you get clean slices. You can warm individual slices later if you like warm pie.
How to avoid a gap under the top crust
Apples shrink as they cook. If the top crust sets before the apples soften, you get a dome with a gap underneath.
- Let the sliced apples sit with the sugar before filling. They soften and release juice.
- Mound the apples tightly with no big air pockets.
- For an even firmer fix, cook the apples in a large pan for 5 to 10 minutes until just starting to soften, cool them, then fill the pie.
Tips for a crisp bottom crust
Bake low. The lower third of the oven helps brown the bottom.
Use a glass dish. You can see when the bottom is golden. A glass pie dish is inexpensive and works well.
Start hot. The first 20 minutes at 425°F sets the crust before the filling soaks it.
An apple peeler corer slicer is a big time-saver if you make several pies for the holidays.
Make-ahead and storage
- Unbaked pie: assemble, wrap well and freeze for up to 3 months. Bake from frozen at 425°F for 25 minutes, then 375°F for 50 to 70 minutes, until bubbling.
- Baked pie: keep at room temperature, loosely covered, for up to 2 days, or in the fridge for up to 4 days.
Troubleshooting
- Runny filling: the pie didn't bubble long enough, or it was cut while warm.
- Mushy apples: soft apple varieties, or slices cut too thin.
- Pale bottom: pie baked too high in the oven or in a thick ceramic dish.
- Burnt edges: shield them with foil after the first 30 minutes.
Frequently asked questions
Should I use flour or cornstarch?
Both work. Cornstarch gives a clearer, glossier filling; flour gives a slightly softer, more traditional set.
Do I have to peel the apples?
Peeling gives the best texture. Peels can turn chewy and separate from the slices during baking.
Can I make apple pie the day before?
Yes. Bake it a day ahead and keep it loosely covered at room temperature. Warm slices in a low oven if you like.
How do I make a lattice top?
Cut the second crust into strips, lay half in one direction, then weave the rest across by folding back alternate strips.
Read next: One-Bowl Chocolate Cake With Easy Chocolate Frosting →